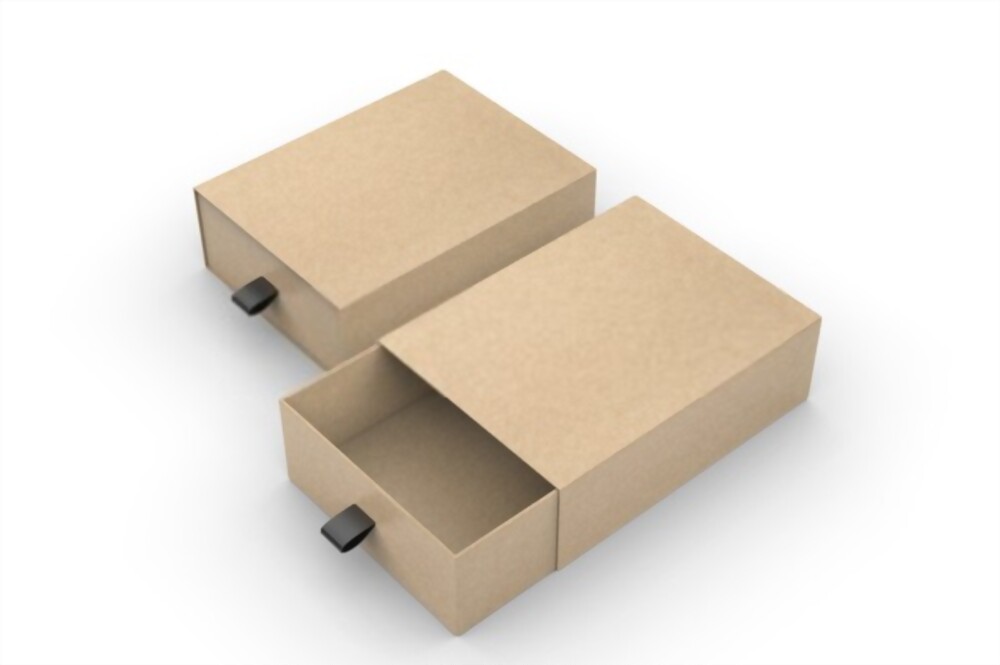
Custom rigid boxes are an important part of any online business, and there are many ways to create them. In this article, we’ll show you how to create a simple custom rigid box using the free online tool, Canva.
Materials needed
To make your own custom rigid boxes, you will need the following materials: a box-building kit, some plywood, a saw, a drill, and screws.
To make the box-building kit, you will need to purchase something like this from a hardware store. You will need to choose between a wooden or plastic box-building kit; either option will work fine.
The first thing you will need to do is cut out the pieces of the box-building kit. You will need two pieces of the top panel, two pieces of the side panel, and one piece of the bottom panel.
The next step is to build the box. Start by drilling holes in each of the four corners of the top panel. Then, use screws to attach the top panel to the side and bottom panels.
Next, use screws to attach one end of the string ladder to one corner of the top panel and the other end to one of the side panels. Then, walk up and down the ladder while holding on to the top panel so that it doesn’t fall off.
Finally, use screws to attach one end of the string ladder to one corner of the
How to make a custom rigid box
If you’re in the market for a sturdy, custom-made box, you don’t have to look any further than your own garage. In this tutorial, we’ll show you how to make a rigid box out of wood and metal panels. This project is easy to complete and can be customized to fit your specific needs.
The first step in this project is to select the materials necessary for your box. We recommend using a hardwood like oak or maple for the body of the box, with a metal frame for stiffness. You will also need some screws, nails, and other hardware to complete the project.
To build the box, start by cutting the desired shape out of your hardwood. For the sides of the box, we recommend using a jigsaw or circular saw; for the top and bottom, use a sawzall or chop saw. Be sure to sand all edges smooth before construction begins.
Next, attach the side panels using screws and nails. Make sure that the panels are flush with each other along all sides, and that there are no gaps between them. Once all sides are attached, flip your box over so that the back is facing up.
Now it’s time to add
Tips for making your rigid box
If you’re looking for a sturdy, customized rigid box to store your cherished possessions, know that there are a few simple steps you can take to make one yourself. Whether you need a small storage container for your desk or an elaborate showpiece for your home office, following these tips will ensure that your custom box is exactly what you’re looking for.
1. Choose the right material. While any sturdy material will do, it’s important to choose one that’s both strong and easy to work with. A good option is particleboard, which is inexpensive and easy to find.
2. Plan the layout of the box carefully. Once you have your material chosen, it’s time to plan out the layout of your box. It’s important to account for all of the dimensions (width, height, depth), as well as the shape and size of your object(s) of interest. Be sure to draw out a rough sketch or plan beforehand so that there are no surprises later on!
3. Start assembly! Once you have your design finalized, it’s time to start assembling your box. Start by cutting out the necessary pieces using aigsaw or a router-mounted bit set. Make sure to sand down any
Read More: custom magnetic boxes
Conclusion
In this article, we will show you how to make your own custom rigid boxes using a simple online form. You will need basic HTML and CSS skills, as well as a bit of design intuition. By the end of this tutorial, you will be able to create a custom rigid box that perfectly suits your needs.